
How to set up a Nightscout server on Mikrus? A step-by-step guide
Guide to installing the Nightscout server on Mikrus, perfect for people with diabetes.
How to set up a Nightscout server on Mikrus? Step-by-step guide
Diabetes is a condition that requires continuous monitoring of blood glucose levels and proper insulin management. Nowadays, technology can significantly ease the lives of people with diabetes. One such tool is Nightscout, which allows for real-time monitoring of blood sugar levels. In this article, we will show you how to set up a Nightscout server on the Mikrus platform, enabling you to conveniently manage your diabetes-related data.
What is Nightscout?
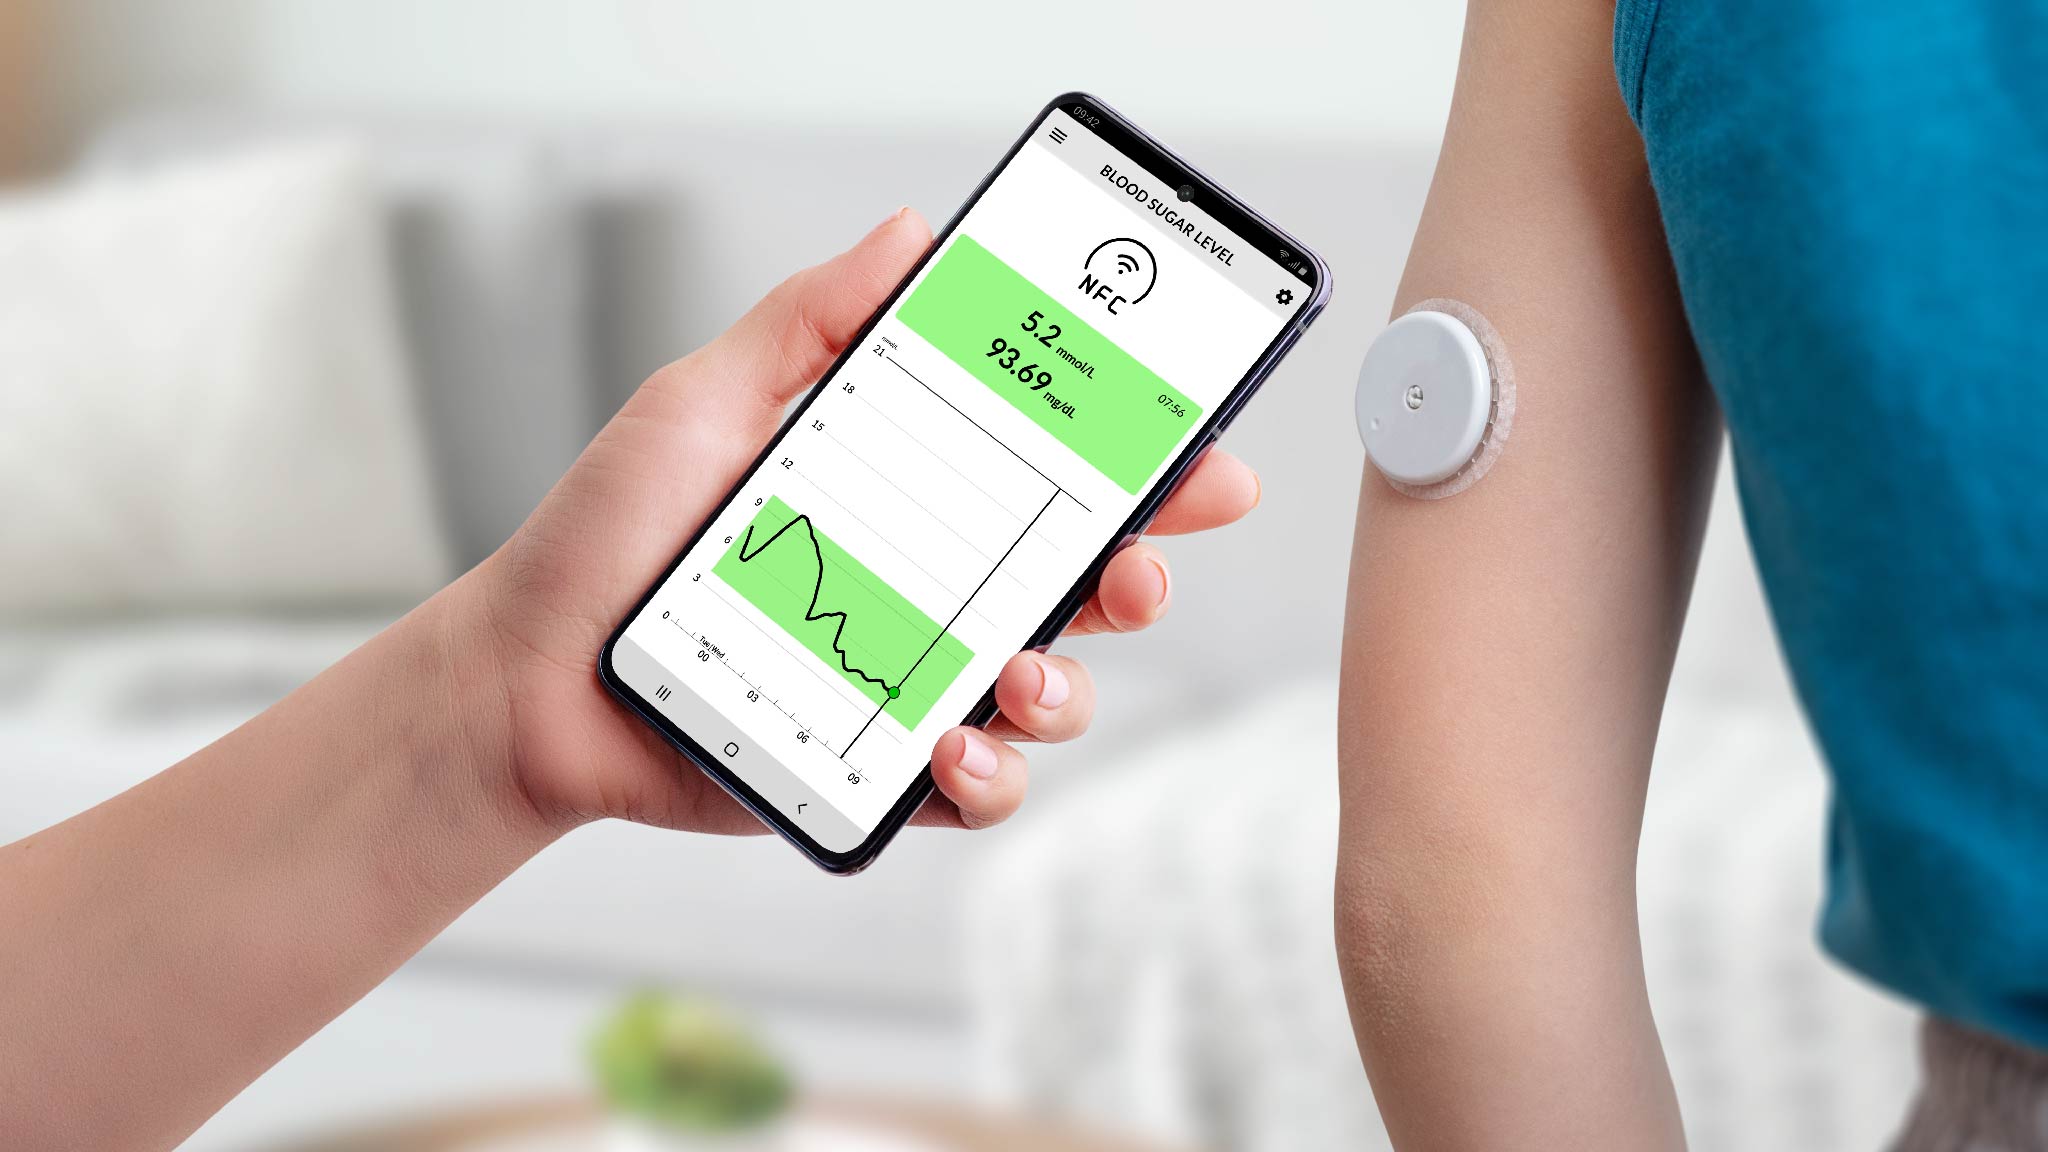
Nightscout is open-source software that enables remote monitoring of glucose levels and management of data from continuous glucose monitoring (CGM) systems. With Nightscout, you can access glucose data from anywhere, which is extremely helpful for people with diabetes and their caregivers. This software also offers many additional features such as bolus calculators, trend analysis, and more.
Preparation for installation
To set up a Nightscout server on Mikrus, you first need to prepare the appropriate environment. Here’s what you will need:
- Mikrus account: Register at https://mikr.us and log in to your panel.
- Access password: Save your access data, as you will need it during installation.
- WebSSH: Use this feature to access the command line of your server. Keep the new password that you receive after reinstalling the server.
Installing the Nightscout server
Step 1: Reinstalling the server
The first step in installing Nightscout is reinstalling the server. In the Mikrus panel, go to the "Parameters and Logs" tab.
- Click on the tile representing your server.
- Select the "Reinstall" option.
- From the dropdown menu, choose "Nightscout (for diabetics)" and click "Reinstall".
- Confirm the action by clicking "OK" and wait for the process to complete.
Step 2: Accessing WebSSH
After the reinstallation is complete, return to the panel and select "WebSSH". Enter the access password you obtained in the previous step. Once logged in successfully, you'll have access to the command line interface of your server.
Step 3: Installing Nightscout
In the WebSSH console, type the command ns and press Enter. This command will launch the Nightscout installer, which will guide you through the next steps. During the installation, you will need to:
- Generate or provide an API SECRET value, which acts as a password securing access to Nightscout. It is recommended to use a unique value of at least 12 characters in length.
- Set a subdomain that will be part of your Nightscout address. Choose a short name, up to a maximum of 12 characters, and then confirm your choice.
Step 4: Final configuration
After the installation is complete, wait a few minutes for the subdomain to be connected. When this happens, you can go to your phone, turn off WiFi, and open a browser. Enter the address of your Nightscout to ensure everything is working correctly. If you see a padlock in the address bar, it means your installation was successful!
Configuring Nightscout
Now that your Nightscout server is running, you can proceed with its configuration. You can utilize various features such as:
- Monitoring glucose levels
- Setting up alerts and notifications
- Analyzing historical data With these features, managing diabetes will be much easier.
Why use Nightscout?
Nightscout is not only a tool for monitoring glucose levels but also a powerful support system for managing diabetes. With it, you can:
- Track changes in glucose levels in real time.
- Set notifications for low or high glucose levels.
- Use the bolus calculator, making insulin dosing easier. By using Nightscout, you will increase your control over diabetes and improve your quality of life.
We encourage you to download the Diabcalc app from diabcalc.com to manage your diabetes even better and take advantage of modern tools. We are planning integrations for DiabCalc x Nightscout to manage diabetes more effectively.
Frequently Asked Questions (FAQ)
1. What are the system requirements for Nightscout?
Nightscout works on most operating systems, but it performs best on Linux servers such as Ubuntu.
2. Can I use Nightscout without the Internet?
Nightscout requires an Internet connection to sync data with CGM devices and enable remote access.
3. How can I secure my Nightscout server?
It is recommended to use a strong API SECRET and regular software updates to secure the server against unauthorized access.
4. How can I get help if I have installation issues?
In case of installation problems, we recommend contacting the support group on Facebook or visiting the official Nightscout website.
5. Is Nightscout free?
Yes, Nightscout is open-source software and is available for free; however, there may be costs associated with hosting on a server.



Comments